L o p s
S l i p C a s t e d P l a t e s
Define
These plates are a singularly produced piece from the Izaka collection. While inspired by the original design, they feature subtle differences in width and axis tilt. Mass-manufactured in ceramics through the slipcasting process, this project delves into the intricacies and possibilities of this manufacturing technique.
Design
This is the 3D printed form that was used for inspiration to carve out the foam model. The original form was symmetrically leveled from the ground. The foam model was made with a 15 degree axis tilt.
The casting process then began with pouring low fire slip into the mold, and left in for 2 min. Developing an intuition for the time took a couple of tries. If too much of the clay dried on the surface the piece is too heavy to take out and collapses on itself as you can see in the image below.
Making the mould
Lops was made with a two part mold. It was casted in plaster, using wooden boards, a hand carved foam model, and clay. Then left to dry for 7 days until all the moisture had evaporated. This is crucial to the process because the Plaster essentially pulls the moisture out of the slip, which fives us our perfectly shaped products. So if the mold isn’t completely dried, the plaster will draw out moisture unevenly, and you’ll be left with a product that has varying wall thickness throughout.
Production
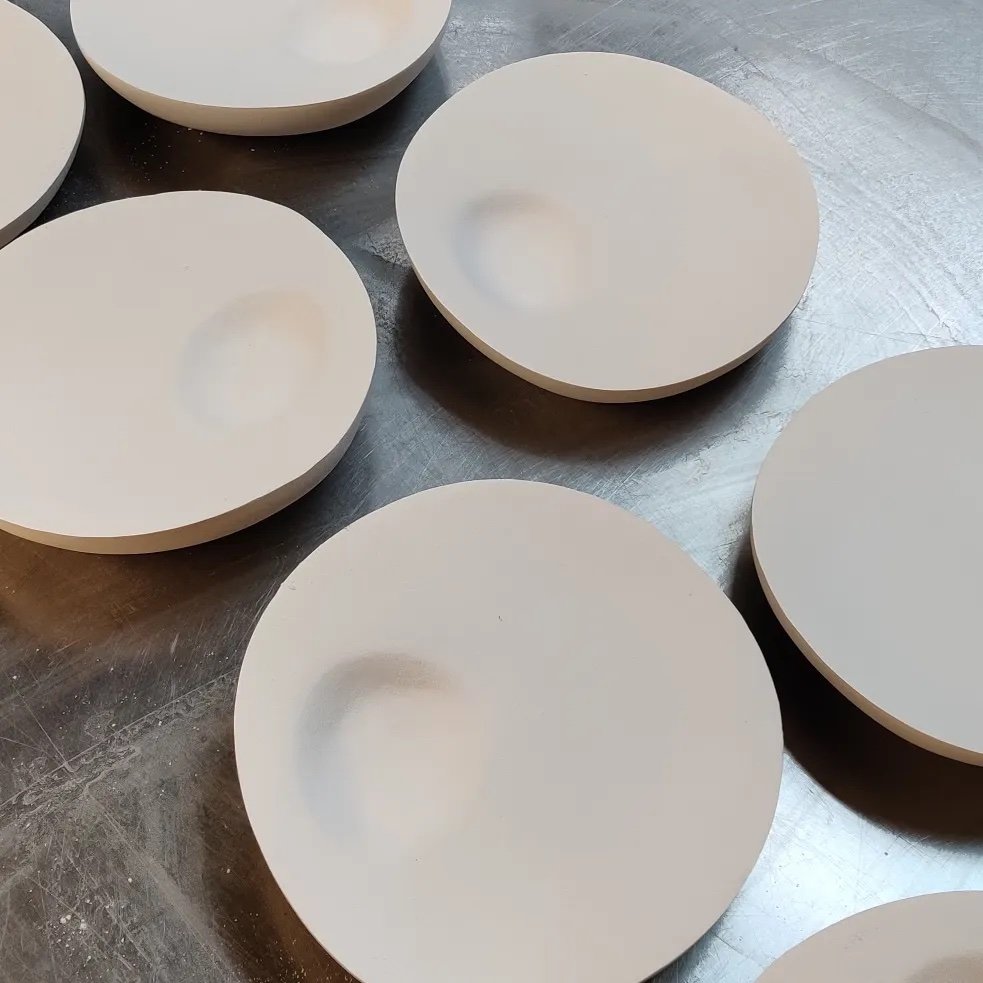
The Pieces that are extracted from the mold are left to air dry till they are a structurally sound enough to be handled.
Ideally somewhere around 60% dry is the best time to clean up the pieces from any imperfections, and sanding them down to the perfect surface finish. Trying to do this process after the piece is bone dry is extremely hard, as the piece is very brittle at this stage, and becomes prone to shattering
The Pieces have been glazed and are put on the shelf for their final round of firing. The green glaze is actually a transparent glaze. I have sanded off the glaze around the edged to create pattern around the rim.
F i r i n g
After the pieces are cleaned and bone dried, it’s time to load them into the kiln and put them through their first round of firing, termed as “bisque Fire”
When they come out, the clay has a white hue, and can be further sanded down, but at this stage any cleanup is much harder.
Testing out different glazes to develop an understanding for pre and post firing hues, as the glaze color tends to change


